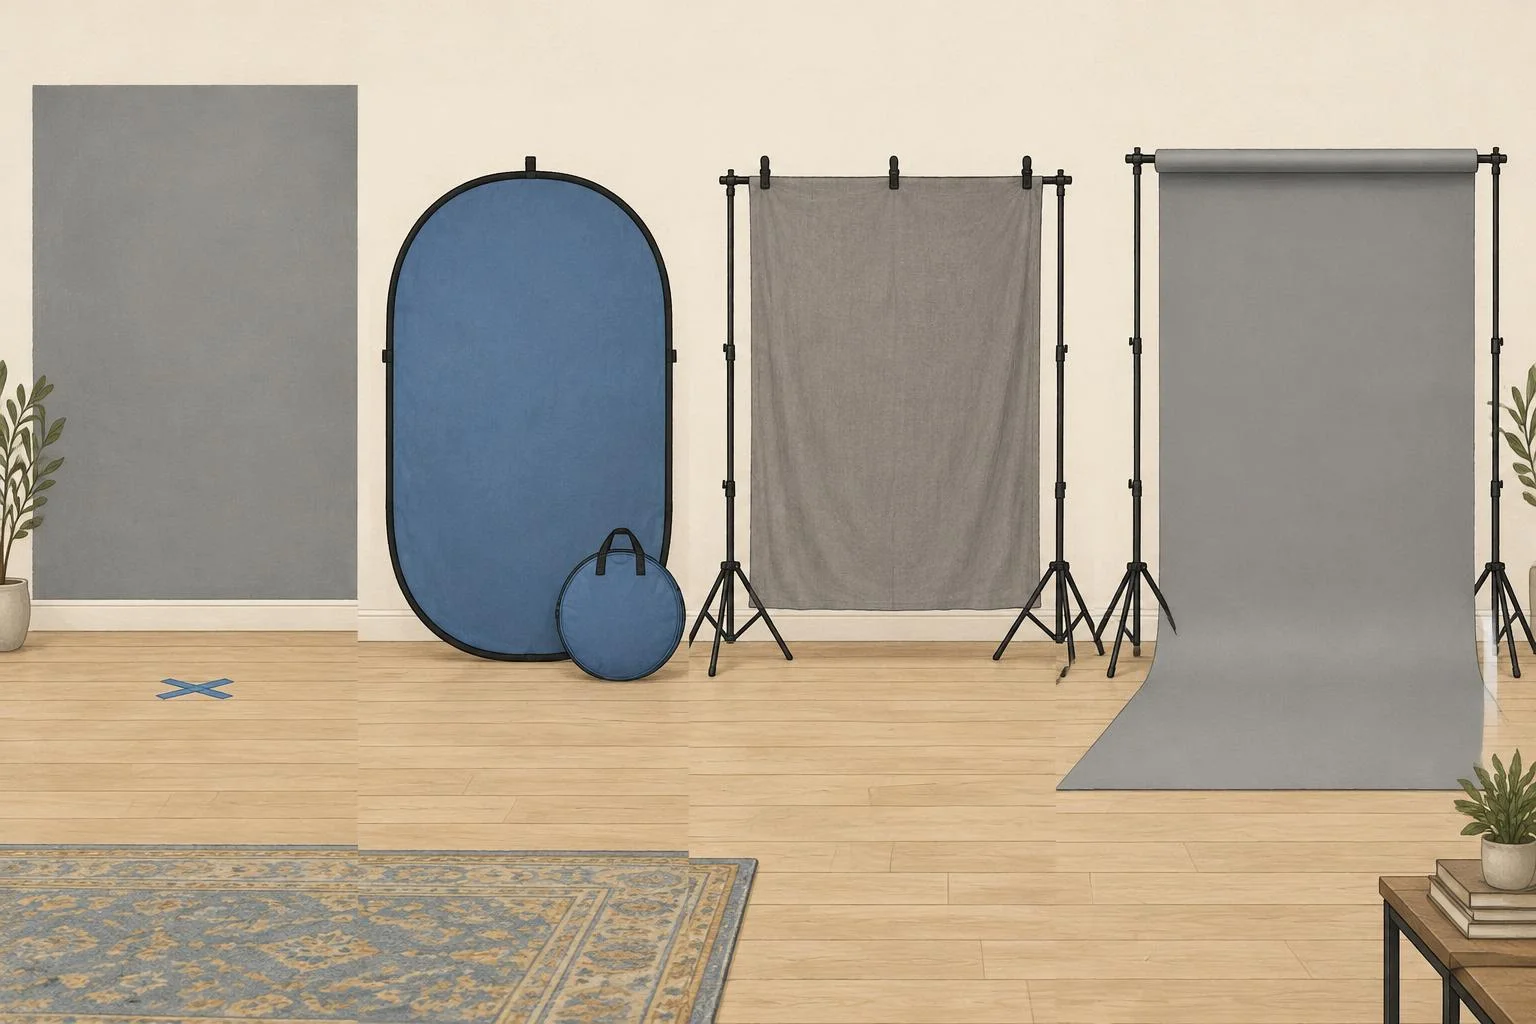
The best self-tape backdrop is the simplest one that fills your frame without distracting from your performance. Start with a plain wall if you have one. Choose a collapsible blue/gray backdrop for a setup you can pack away, fabric for flexible coverage, or seamless paper for a dedicated taping space.
You do not need an expensive audition background to make a clear, usable tape. Follow the casting instructions first, then prioritize a clean frame, good sound and even light on your face.
Key takeaways
A plain, uncluttered wall works and costs nothing.
A collapsible blue/gray backdrop is the easiest pick for shared rooms and travel.
Fabric covers wider frames cheaply; seamless paper looks smoothest in a dedicated space.
Follow the casting instructions first, then light your face evenly and keep distance from the backdrop.
Four practical options, from using what you already have to a dedicated setup. Illustrations show backdrop types, not exact products or color swatches.
Quick choice: No budget? Use a wall. Shared room? Try a pop-up. Need a wider frame? Consider fabric. Keeping the setup assembled? Paper becomes more practical.
Budget ranges researched November 18, 2026. They exclude tax, shipping, clamps and supports. A separate basic stand can add roughly $60 to $80. Wall repainting costs extra. Prices and availability vary by seller and size.
How these were selected: This is a researched buying guide, not a hands-on product test. The comparisons focus on frame coverage, storage, surface maintenance and total setup cost. Manufacturer specifications and retailer examples are linked below; there are no invented ratings or claims that a backdrop helps you book a role.
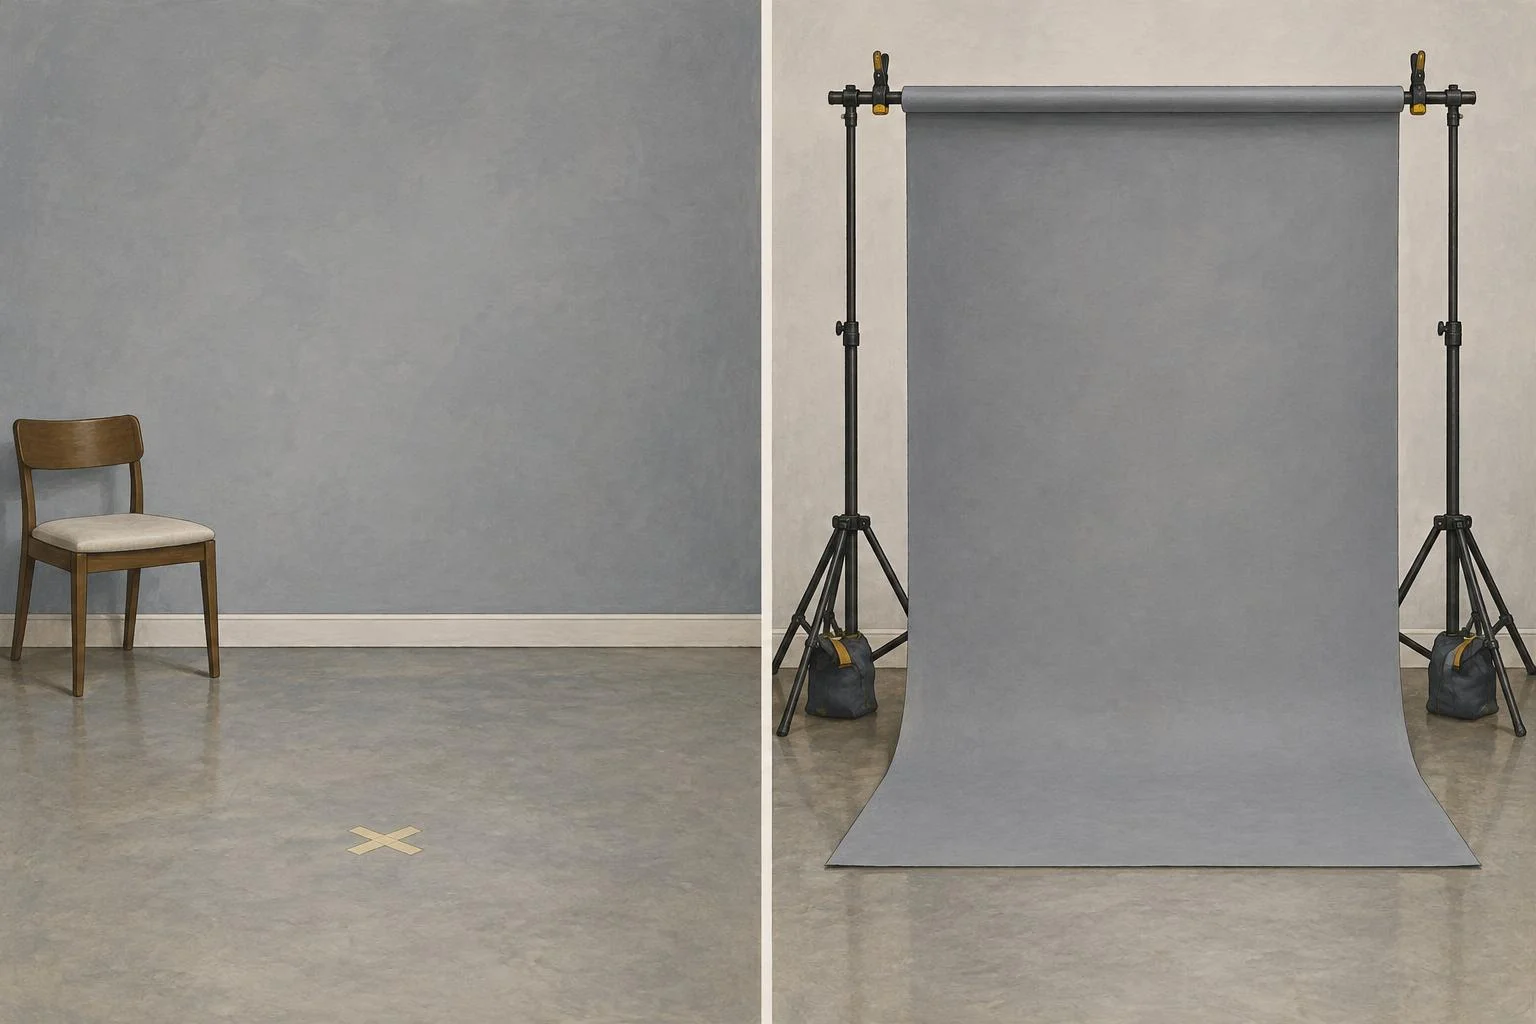
Plain wall: the no-purchase option
A wall saves equipment and storage space. A paper roll gives you a separate surface, but needs support and room.
A plain, matte wall is a sensible starting point for a home self-tape setup. Remove pictures, move visible furniture and check that switches, doorframes and baseboards stay outside the shot. A suitable wall you already have costs nothing.
Choose it if: You can frame yourself against a quiet section of wall and light your face without a harsh shadow behind you.
Skip it if: Strong texture, patterned wallpaper or a busy room remains visible in the audition frame.
Before spending: Film ten seconds with your audition wardrobe. Check the clip, not just how the wall looks in the room.
Casting Networks also suggests a plain wall when self-taping away from home. A hotel wall may be enough, provided the light, sound and instructions work.
Collapsible backdrop: for shared rooms and travel
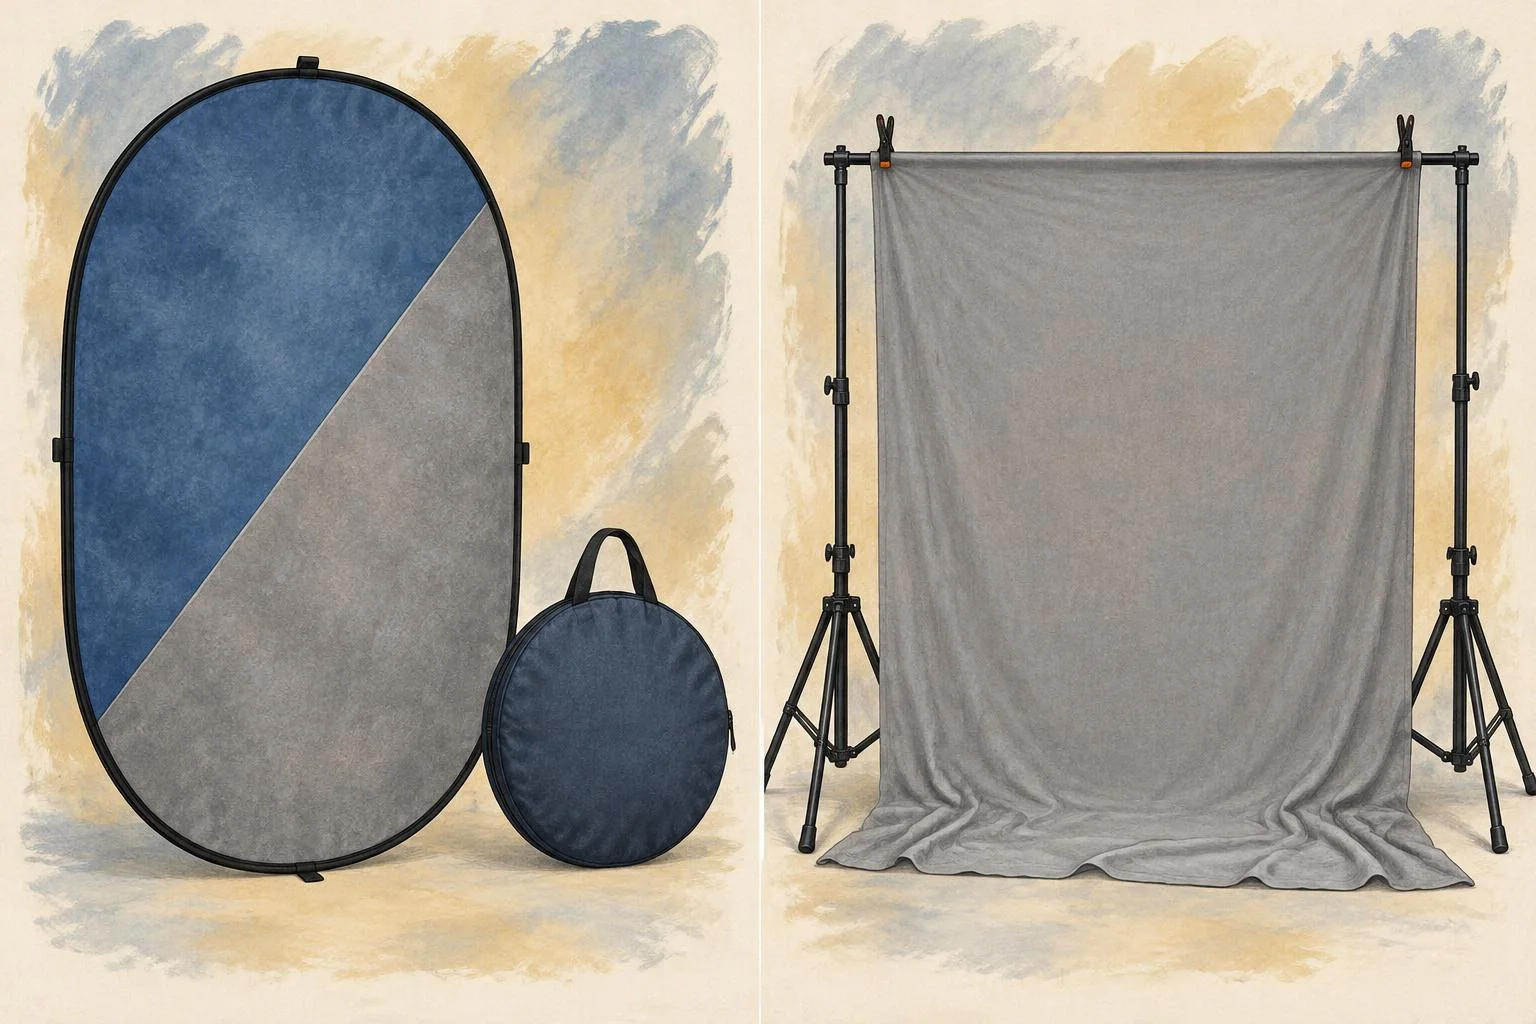
Left: a reversible pop-up panel, with both colors shown schematically. Real reversible panels have one color on each side. Right: hanging fabric that needs smoothing before filming.
A foldable, spring-frame backdrop gives you a defined background without permanently changing your room. A blue/gray reversible version lets you test two colors. It is useful when your bedroom or living room also needs to function as a taping space.
Example to compare: NEEWER's 1.5 × 2 m panel, marketed as about 5 × 7 ft, has a steel frame, polyester surface and carry bag. The manufacturer lists a folded diameter of about 25 inches. That is packable, but not pocket-sized, and may be awkward in a small suitcase.
Budget: About $50 to $90 for a basic blue/gray panel. A support stand may be a separate purchase.
Strength: Quick to open, reversible and easy to move between rooms.
Limitation: The oval corners reduce usable coverage. Wider gestures, landscape framing or a full-body slate may expose the edges.
Safety: Open it away from your face and breakable objects. Follow the maker's folding instructions rather than forcing the spring frame.
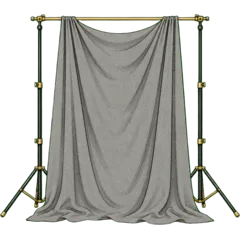
Muslin and polyester backdrops can cover a wider area and fold away between auditions. They are not the same material, so check the actual listing rather than assuming every cloth backdrop is cotton muslin.
Budget: About $25 to $45 for basic cloth, plus support and clips if needed.
Strength: Flexible sizes and reusable coverage for scenes with more movement.
Limitation: Fold lines can catch light. Thin fabric may reveal a bright window or objects behind it.
Preparation: Hang it with gentle tension and smooth the filming area. Steam, iron or wash only as the material's care instructions permit.
For a concrete reference, NEEWER's 6 × 9 ft polyester backdrop was listed at $27.99 when researched, without a stand. Although the listing uses “collapsible,” this is folded cloth, not the spring-frame pop-up above.
Compare gray fabric backdrops on Amazon. This is a search link, not a specific tested product. Check opacity, dimensions, rod-pocket placement and whether clamps or stands are included.
Seamless paper: for a dedicated taping space
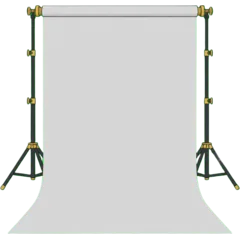
A seamless paper backdrop creates a continuous surface without fabric fold lines. It makes the most sense if you can leave a roll mounted, or you also use the space for photography. You do not need a floor sweep for an ordinary chest-up audition.
Budget: About $40 to $70 for a smaller roll, before support and shipping. Larger rolls and delivery surcharges can cost more.
Strength: Smooth, non-reflective coverage with a fresh section available when the end becomes damaged.
Limitation: Paper can tear, crease or get dirty. Cutting away damage gradually uses up the roll.
Storage: Follow the manufacturer's guidance. Savage recommends storing its rolls vertically and securing them with clamps on the stand.
Gray backdrop: A neutral starting point. Test whether your shirt blends into it.
Blue backdrop: Another practical choice, but vivid blue can dominate a frame or reflect a color cast in a cramped setup.
White wall: Can work if permitted and lit well. Avoid letting a bright background make your face appear too dark.
Black background: May reduce separation with dark hair or clothing. Test it rather than assuming it looks more professional.
Green screen: Usually unnecessary for an audition. Do not replace the background digitally unless requested.
There is no single backdrop color that flatters every skin tone under every light. Compare a short clip in each available color, wearing the actual outfit. Look for natural skin color, clear facial detail and separation from the background.
What size backdrop do you actually need?
A roughly 5 × 7 ft pop-up can be a starting point for a chest-up scene, but coverage depends on camera distance, lens width, your height and movement. Size labels are not a guarantee that the frame will stay covered.
Place your phone or camera where you will actually film. Use landscape for the scene unless the instructions say otherwise.
Set the requested shot, including headroom and your eyeline.
Move through the scene's gestures. Check all four corners of the recording for backdrop edges.
Test any full-body slate separately. You may need a wider background or a different camera position.
Measure the visible width before ordering. Include tripod legs and safe walking space in your room plan.
In a small room, try filming across its longer dimension. Avoid an ultra-wide phone lens simply to fit everything in, since it can change facial proportions. A chest-up scene and a full-length slate need not use identical framing.
Set it up: light, distance and a clean frame
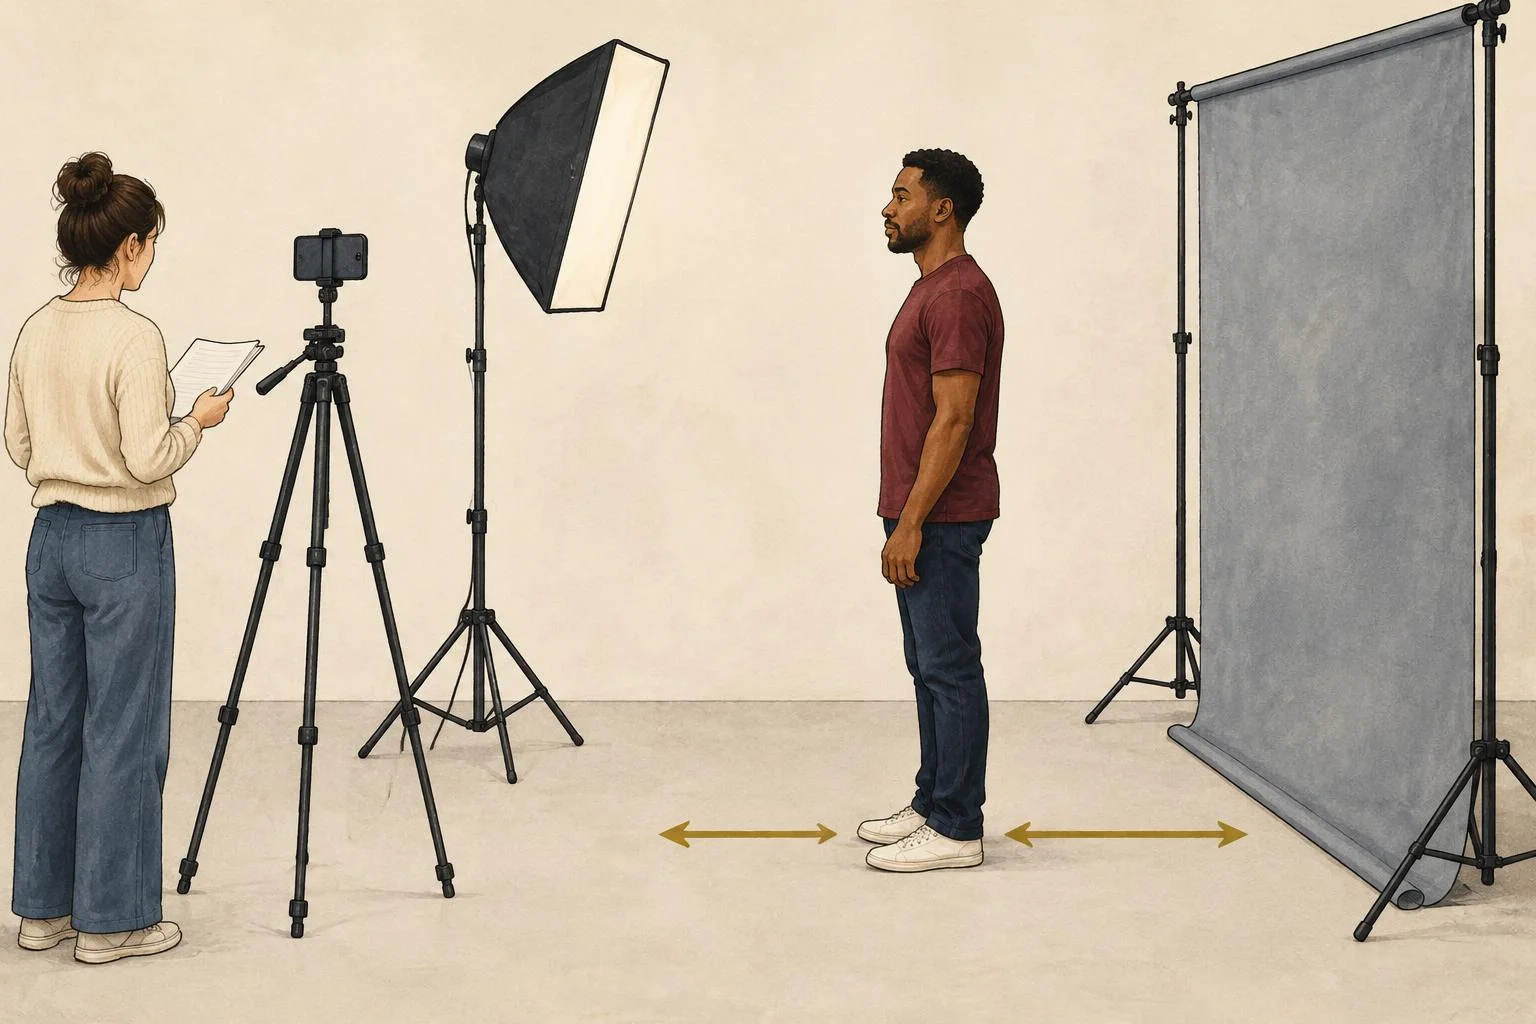
A starting layout, not a scale drawing: light your face, keep the reader near the camera and leave space behind you when the room allows.
Secure the background. Use suitable clamps and supports. Weight stand bases as needed and keep cables and fabric out of walking paths.
Step away from it. Try a few feet if space allows, then adjust by watching a test clip. The aim is less distracting shadow, not a mandatory distance.
Light your face. Face a window or use a soft light slightly off to one side. Adjust its position if your shadow falls visibly behind you.
Set the camera near eye level. Keep the reader close to the lens but outside the frame, unless the instructions call for a different eyeline.
Record ten seconds. Speak at scene volume, turn your head and make the intended movements. Watch with sound before recording the audition.
Wrinkles look like stripes: Smooth the fabric according to its care instructions and adjust the light so it does not rake across the folds.
Your shadow is distracting: Move forward if possible, reposition the light and record another test.
Background edges show: Tighten to the requested framing, limit unnecessary movement or use a wider surface.
Cloth looks see-through: Move it away from a bright window or choose more opaque fabric.
Your shirt disappears: Change your shirt or switch to the other side of a reversible backdrop.
You keep rebuilding the setup: Mark camera, actor and stand positions with removable tape where appropriate. Save a reference photo.
The shopping total doubles: Check for separate stands, clamps, weights and shipping before comparing prices.
Before you buy or submit
Buy for the problem you actually have. If your wall already produces a clean frame, put the next bit of effort into light, sound or preparation rather than upgrading the background.
Read the audition instructions for background color, framing, slate and file delivery.
Confirm the backdrop covers the scene and any requested slate.
Check the final clip for shadows, creases, exposed edges and color cast.
Listen for echo, outside noise and reader volume.
Review the seller's included accessories, material care and return terms.
Make sure the supports are stable before performing.
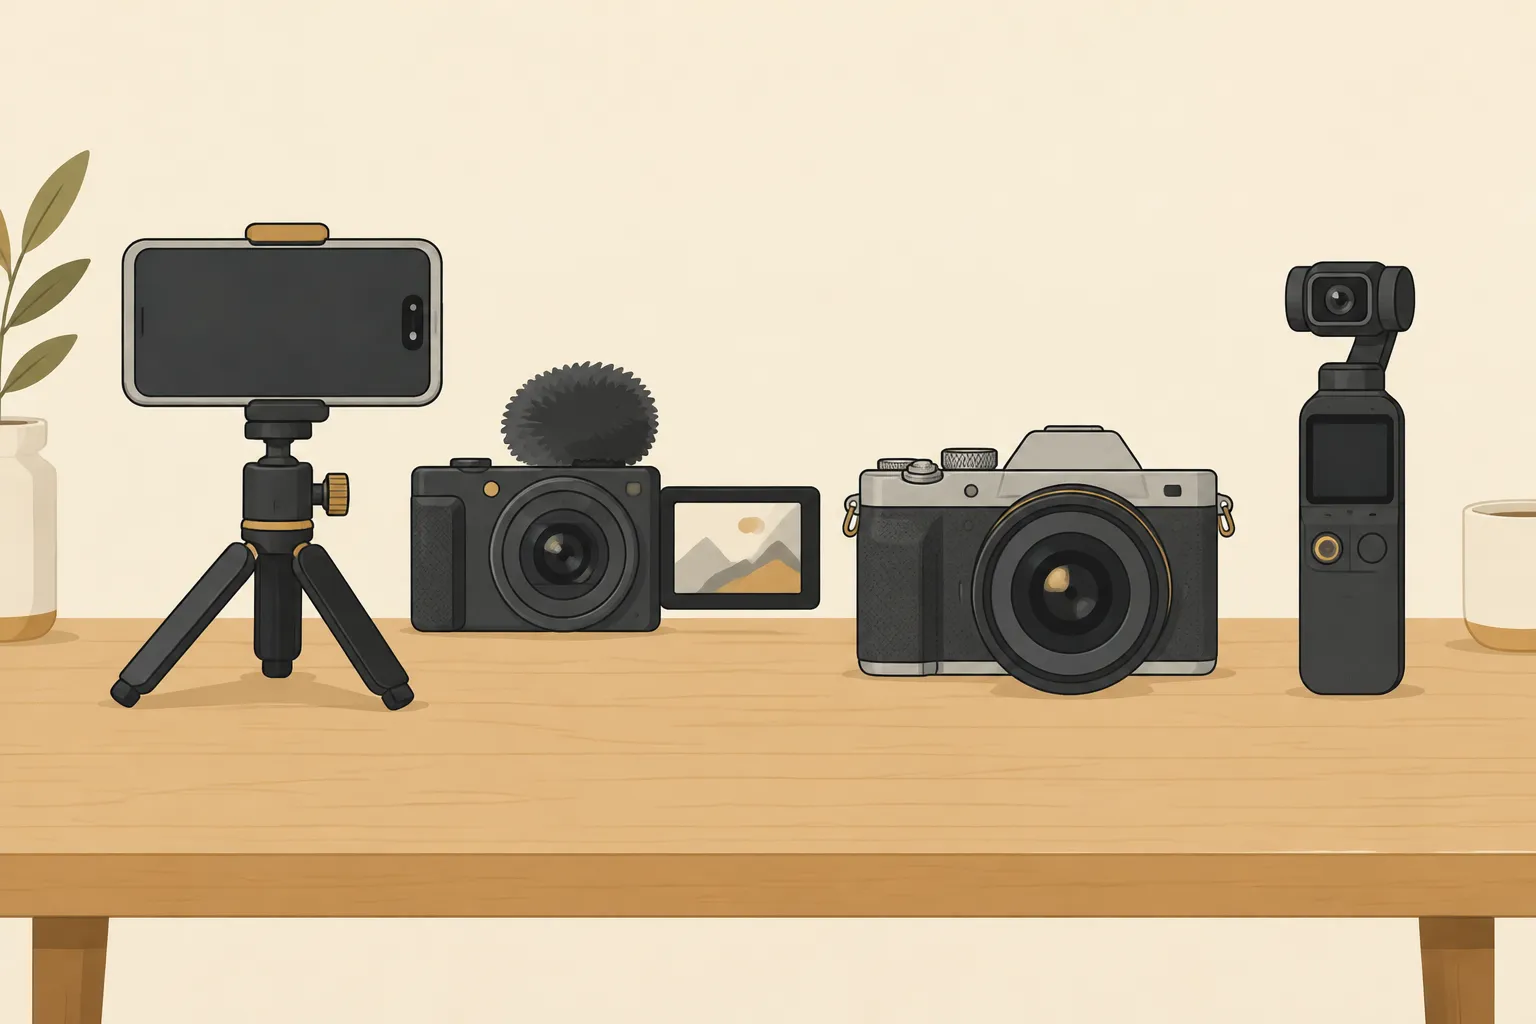
Find the best camera for self-tapes and actor content. Compare mirrorless, compact and phone options, plus lenses, audio and a simple setup for auditions.
Most auditions come through casting platforms and your reps, not your website. Here are 7 real reasons to build an actor website anyway, and how much site you actually need.
Discover 11 practical ways actors are using AI to prep auditions, write agent emails, build their brand, and sharpen their craft — with prompts you can steal today.